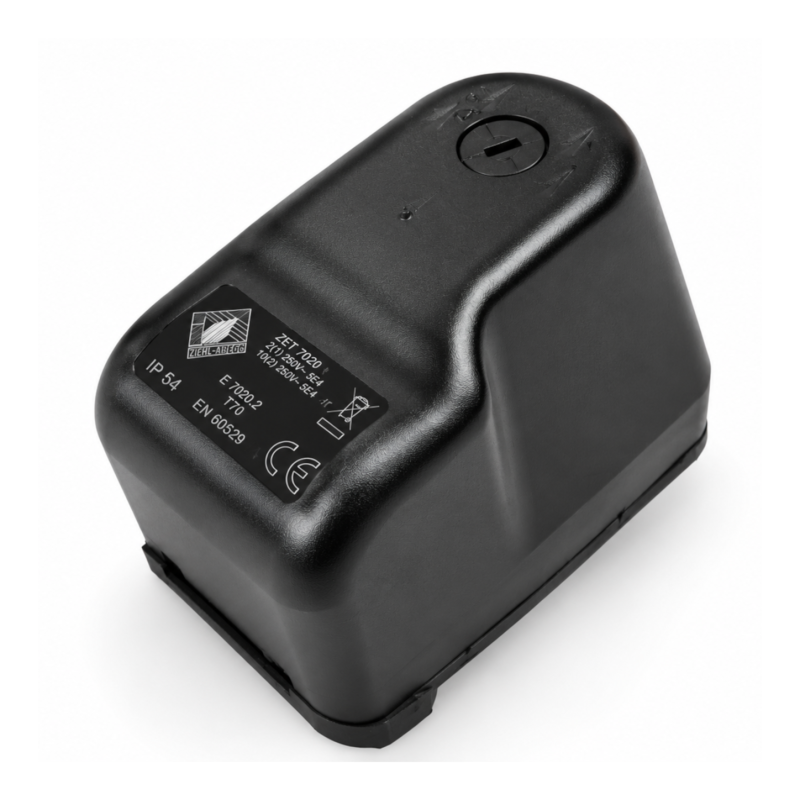
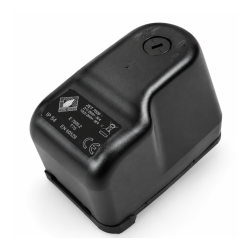
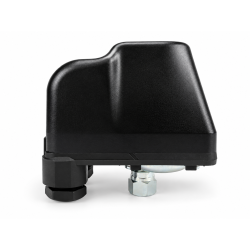
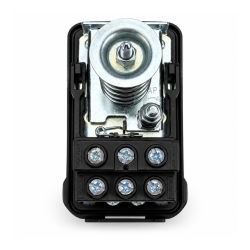
Italtecnica PT12 pressure switch 230/400 V, 16 A, up to 12 bar, 1/4" swivel nut hoofdafbeelding
  • Italtecnica PT12 pressure switch 230/400 V, 16 A, up to 12 bar, 1/4" swivel nut - detail 1
  • Italtecnica PT12 pressure switch 230/400 V, 16 A, up to 12 bar, 1/4" swivel nut - detail 2
  • Italtecnica PT12 pressure switch 230/400 V, 16 A, up to 12 bar, 1/4" swivel nut - detail 3
  • Italtecnica PT12 pressure switch 230/400 V, 16 A, up to 12 bar, 1/4" swivel nut - detail 4
  • Italtecnica PT12 pressure switch 230/400 V, 16 A, up to 12 bar, 1/4" swivel nut - detail 5

Italtecnica PT12 pressure switch 230/400 V, 16 A, up to 12 bar, 1/4" swivel nut

  • Mechanical pressure switch
  • 230/400 V, max. 16 A
  • Adjustable up to 12 bar
  • 1/4" female with swivel nut
  • Italtecnica, Made in Italy
€20.75

(VAT included)

In stock | Brand: ItalTecnica

Since 2012
Free shipping · NL from €100 · BE/DE from €200
In stock: ships within 1-2 business days

Description

The Italtecnica PT12 is a mechanical pressure switch for booster sets and pressure boosting systems with a higher working pressure. The PT12 is a three-pole switch, so it suits both single-phase 230 V and three-phase 400 V pumps up to max. 16 A. It starts the pump when the pressure drops and stops it again once the set pressure is reached. The switching pressure is adjustable up to max. 12 bar. From the factory, the PT12 is set to 5 bar on and 7 bar off. This makes it suitable for multistage pumps, irrigation and installations that need more pressure than a standard 5 bar pressure switch.

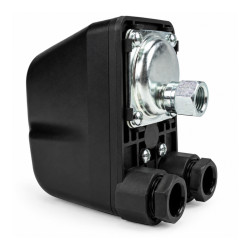
The pressure connection is a 1/4" female thread with a swivel nut and gasket. You don't need to turn the switch itself: you screw the nut onto the 1/4" male thread of, for example, a 5-way connector, and the gasket makes the seal. No PTFE tape is needed. Make sure the pressure vessel, gauge and fittings are also rated for the set pressure. Have the electrical connection made by a qualified person, especially on 400 V.

How to set the PT12:

  • 1. First switch off the circuit breaker or isolator of the pump. The switch carries 230 V or 400 V.
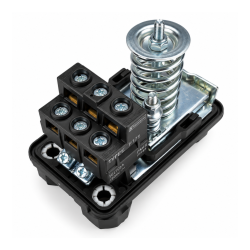
  • 2. Undo the screw on top of the cover and remove the cover. You will see two springs: a large one and a small one.
  • 3. The large spring sets when the pump switches on. Turn the nut on the large spring clockwise (tighter): the pump switches on sooner, at a higher pressure. Anticlockwise (looser): the pump switches on later, at a lower pressure. Note: the large spring also moves the cut-out pressure up or down with it.
  • 4. The small spring sets how much higher the pump switches off. This gap is called the "differential". Turn the nut on the small spring clockwise: the pump switches off at a higher pressure, so the gap gets bigger. Anticlockwise: the pump switches off sooner, so the gap gets smaller.
  • 5. Turn half a turn to one full turn at a time, refit the cover, switch the power back on and read on the pressure gauge at which pressure the pump starts and stops. Repeat until the values are right.
  • 6. Set the pressure vessel pre-charge 0.2 to 0.3 bar below the cut-in pressure. For example, if the pump starts at 5.0 bar, set the vessel to 4.7–4.8 bar.

Never set the cut-out pressure higher than the maximum pressure the pump can deliver, or the pump will not switch off.

This product is supplied without a cable!

Product Details

Voltage
400 Volts
Max. pressure (bar)
12 bar
Material
Kunststof

You might also like